Written by
Bente
Directly to
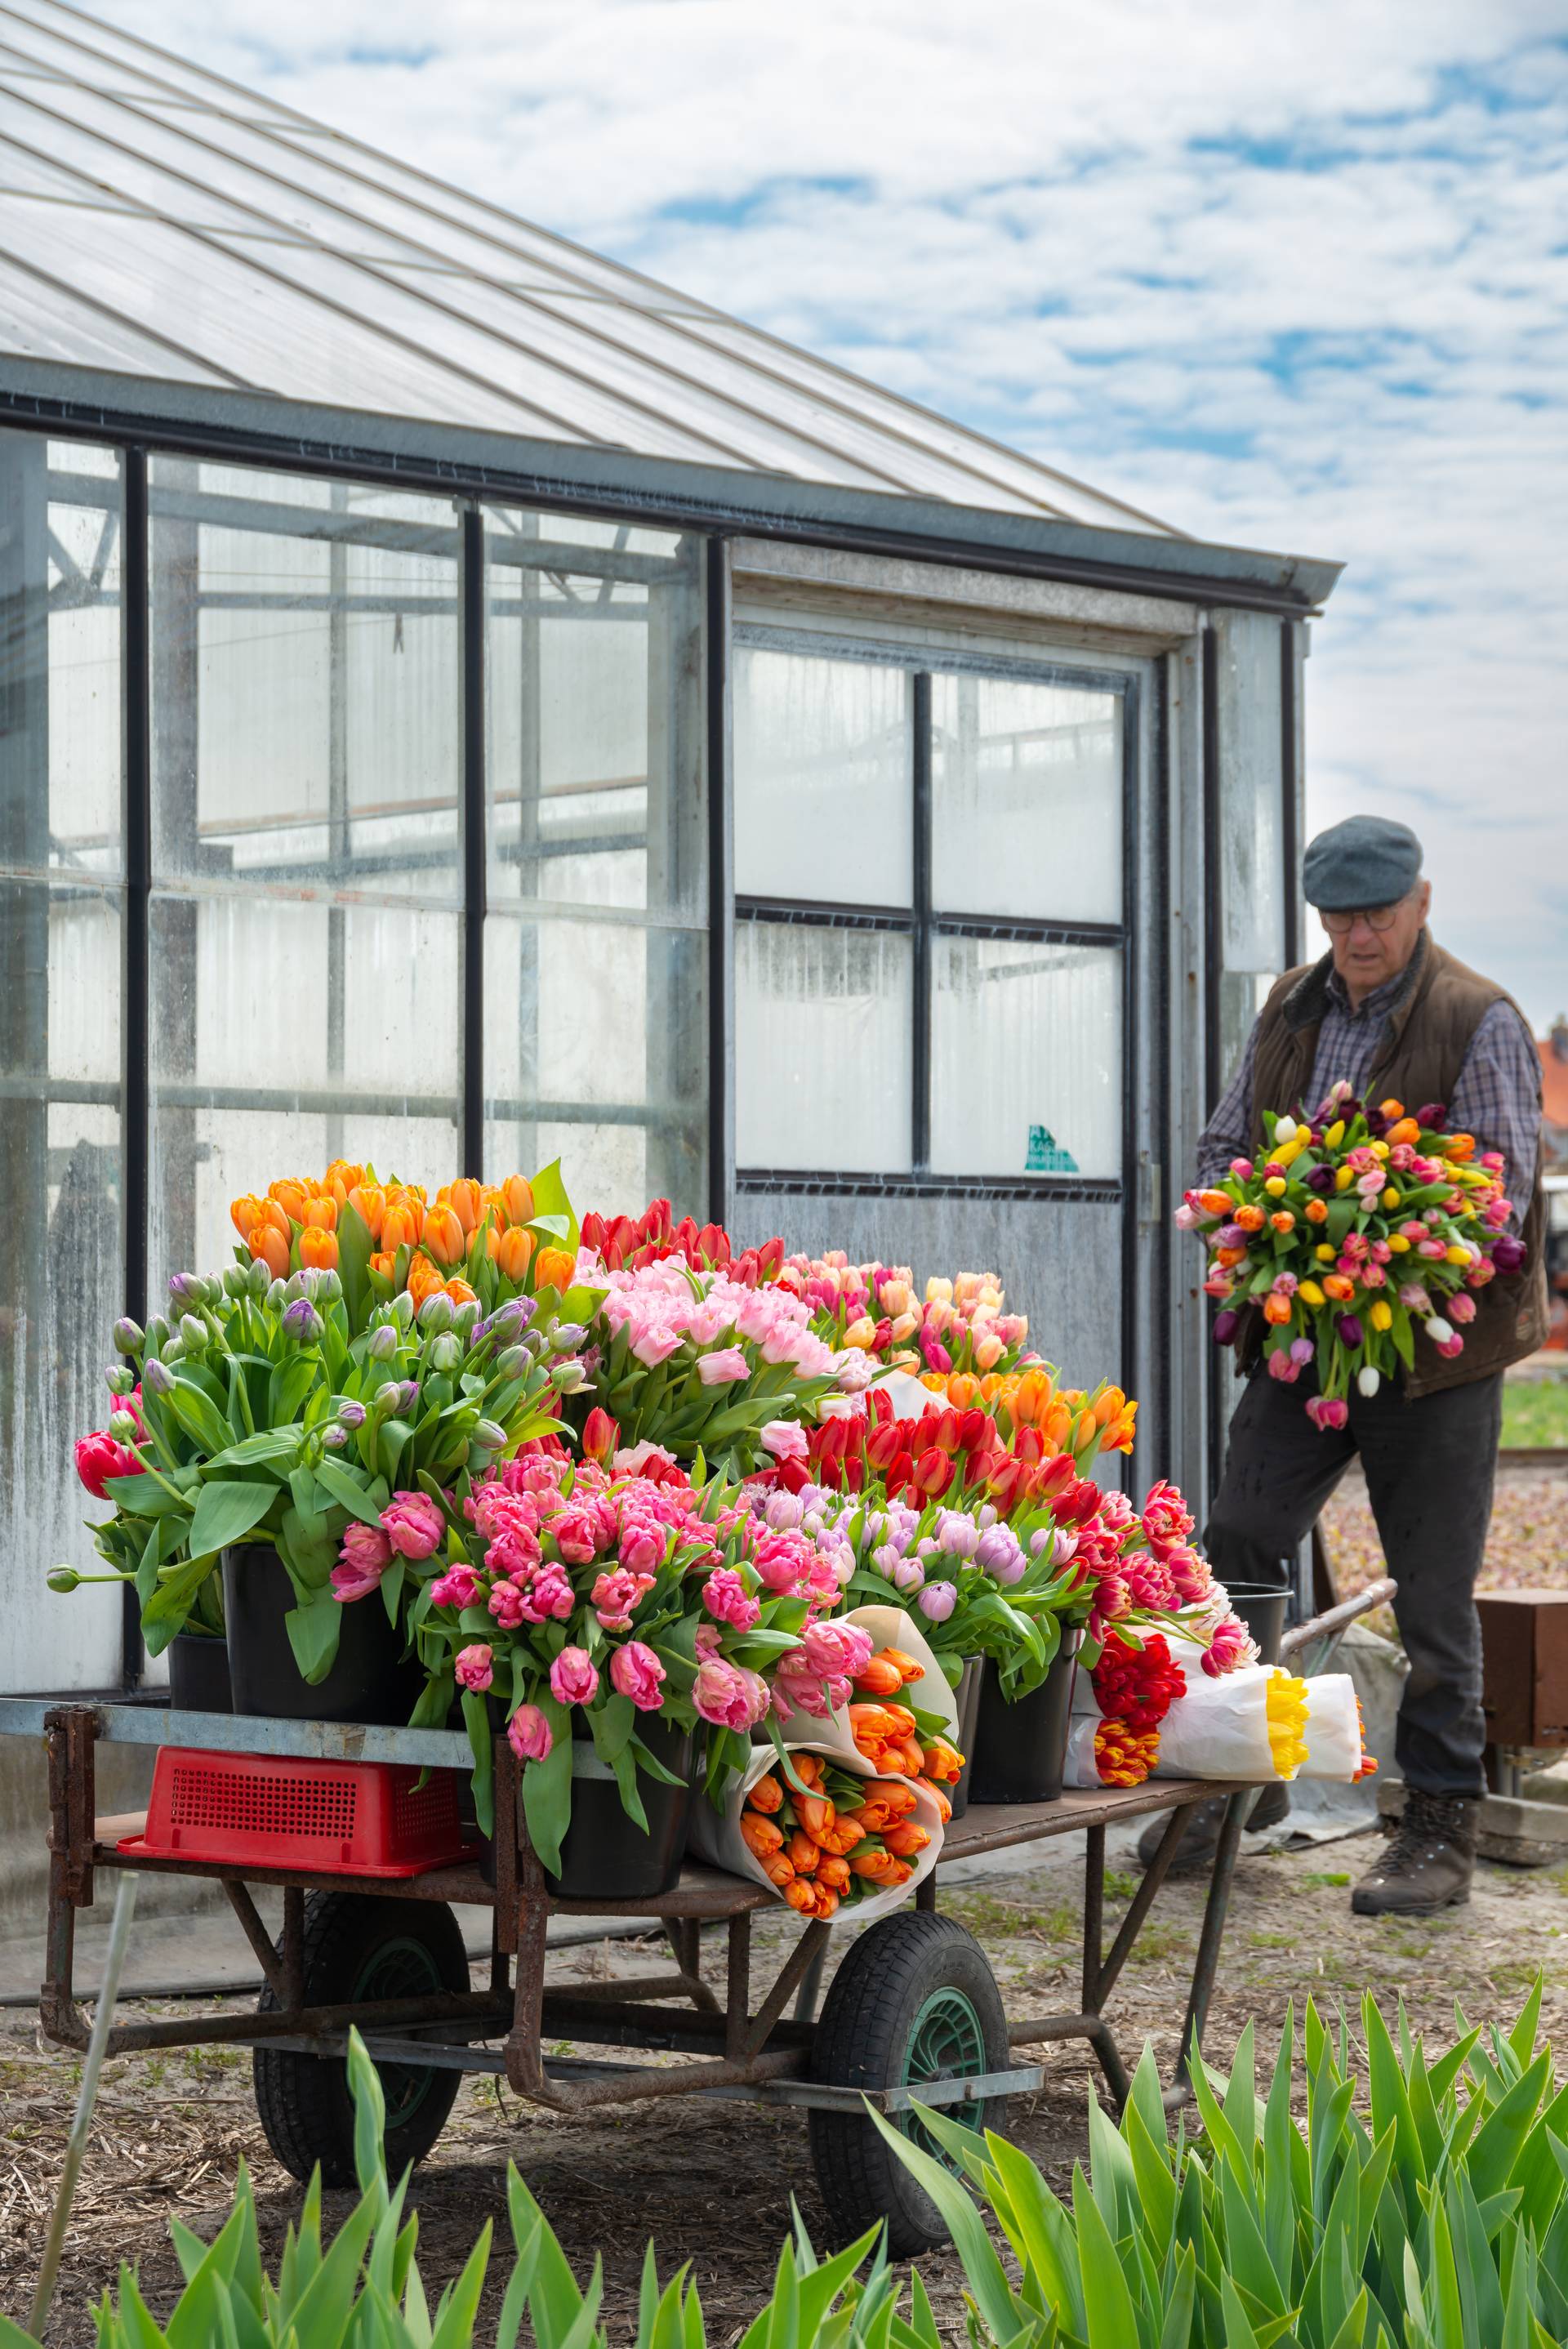
Dreaming of a garden bursting with colour and life in spring? Planting Tulip bulbs lays the groundwork for that colourful display. But a few questions often crop up: when should I start, how deep should the bulbs go, and what should I do after flowering? Don’t worry! With the 7 tips below, you can plant with confidence, enjoy a glorious display and help your bulbs keep flowering for years to come. Read on to discover how easy it is to create a little Tulip joy.
1
When should you plant Tulip bulbs for the best results?
The best time to plant Tulip bulbs is between early September and late November. The soil is still warm enough for roots to develop, while the approaching cold nights provide the period of rest the bulb needs to form a strong bud. Don’t wait until the first frost: frozen ground makes digging difficult and slows root growth. In mild winters, you can even plant into early December, as long as the soil is still workable. You’ll find more background on timing and temperature in the article on planting flower bulbs and tubers.
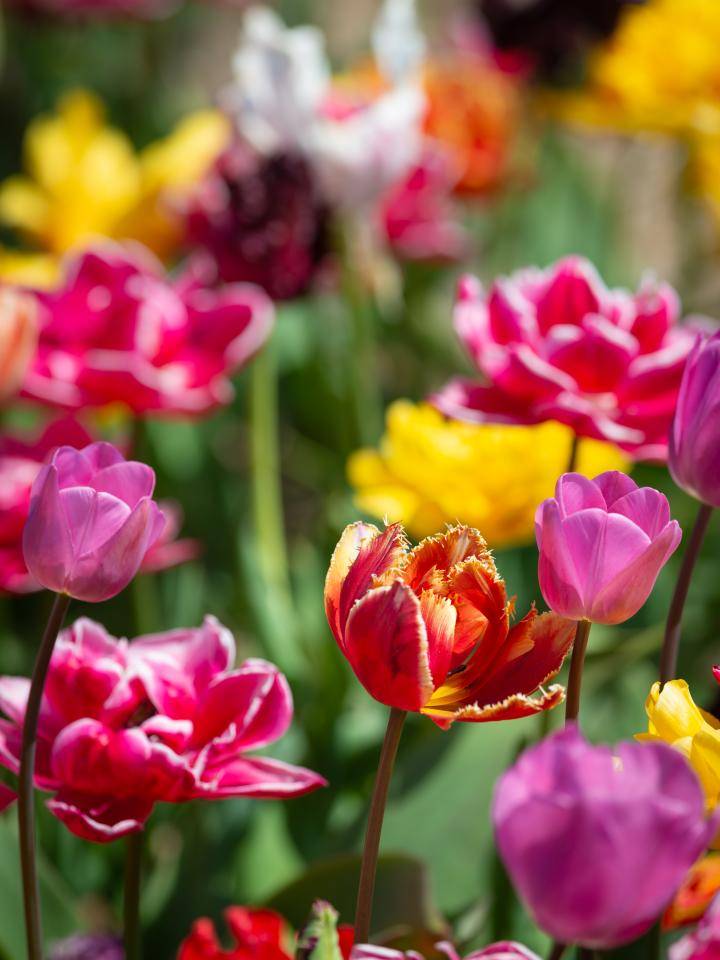
The best time to plant Tulip bulbs is between early September and late November.
2
Choose the right spot and soil
Tulips prefer full sun or, if that really isn’t possible, light partial shade. These conditions help them develop strong stems and vibrant colours. Make sure the soil is loose and free-draining, with a roughly neutral pH, meaning an acidity level of around 6.5 to 7. Start by working a layer of compost or well-rotted manure into the topsoil, adding some coarse sand to heavy clay soil to improve drainage. Avoid fresh manure: its high nitrogen content encourages leaves rather than flowers.
3
How deep and how far apart should you plant Tulip bulbs?
A reliable rule of thumb: plant bulbs at a depth of two to three times their height. So a bulb measuring five centimetres tall needs a hole ten to fifteen centimetres deep. Leave around ten centimetres between medium-sized Tulip bulbs, allowing a little more space for larger varieties. Giving them enough room reduces competition for water and nutrients and lowers the risk of fungal problems. For a compact display, plant in groups of three to five bulbs, but stick to the depth rule. It’s the key to strong stems that can stand up to the wind. Discover more practical tips on planting flower bulbs and tubers here.
4
How do you position the bulb correctly?
Place the bulb in the hole with its pointed end facing upwards, so the shoot can easily find its way to the surface. Not sure which way is up? Plant it at an angle. The bulb will find its own way. Gently firm the soil to ensure it makes contact with the bulb, but avoid compacting it too much: loose soil encourages even root growth. Water thoroughly straight after planting to settle the soil around the bulb and get root growth going.
5
How do you manage watering and mulch without waterlogging your bulbs?
Always give bulbs one generous watering after planting to settle the soil around them and encourage root growth. After that, you can rely on the autumn rain. Check weekly with your finger, though: if the top five centimetres of soil feel bone dry, it’s time for another drink. If the soil is still damp, there’s no need to water. You can apply mulch straight after planting in either case. A layer of straw, leaves or wood chippings around five centimetres thick helps retain moisture, even out temperature fluctuations and suppress weeds, giving the bulbs a chance to establish their roots. Just check that no puddles are forming: good drainage remains essential for healthy Tulips.
6
What should you do with the leaves after flowering?
Once your Tulips have finished flowering, snip off only the faded flower heads. Leave the green leaves and stems in place until they turn yellow and dry out. Through photosynthesis, these green parts feed the bulb, building up the energy reserves it needs for next year’s flowers. Removing the leaves too early weakens the bulb and leaves it with fewer reserves. Only when both the leaves and stems are completely brown should you gently pull away or cut off the growth at ground level, just above the bulb. This bit of aftercare might just be the most important step towards enjoying another colourful spring!
Leave the green leaves and stems in place until they turn yellow and dry out.
7
How do you store or replant Tulip bulbs for years of flowers?
Tulip bulbs can stay in the ground, but some gardeners prefer to lift them to help prevent fungal problems and rot. This also lets them select the best bulbs and separate any small offsets for more flowers. Once the green leaves and stems have died back, carefully dig up the bulbs, brush off any loose soil and leave them to dry somewhere cool, dry and well ventilated. Then store them in a paper bag or wooden crate between layers of newspaper until the next planting season. This helps prevent mould and gives you a chance to separate and plant out any small offsets for extra flowers. If you’d rather leave the bulbs in the ground, simply keep them where they are and give them a little phosphorus-rich fertiliser when cutting back in autumn to replenish their energy.

Ready for colour?
These seven tips will help you lay the groundwork now for a dazzling display of Tulips in spring. Have fun experimenting with different varieties and colours, and combine Tulip bulbs with other spring-flowering plants for a long flowering season. Fancy more gardening projects? Take a look at this step-by-step guide to creating a cutting garden full of flowers ready to pick, or explore the general guide to planting garden plants.