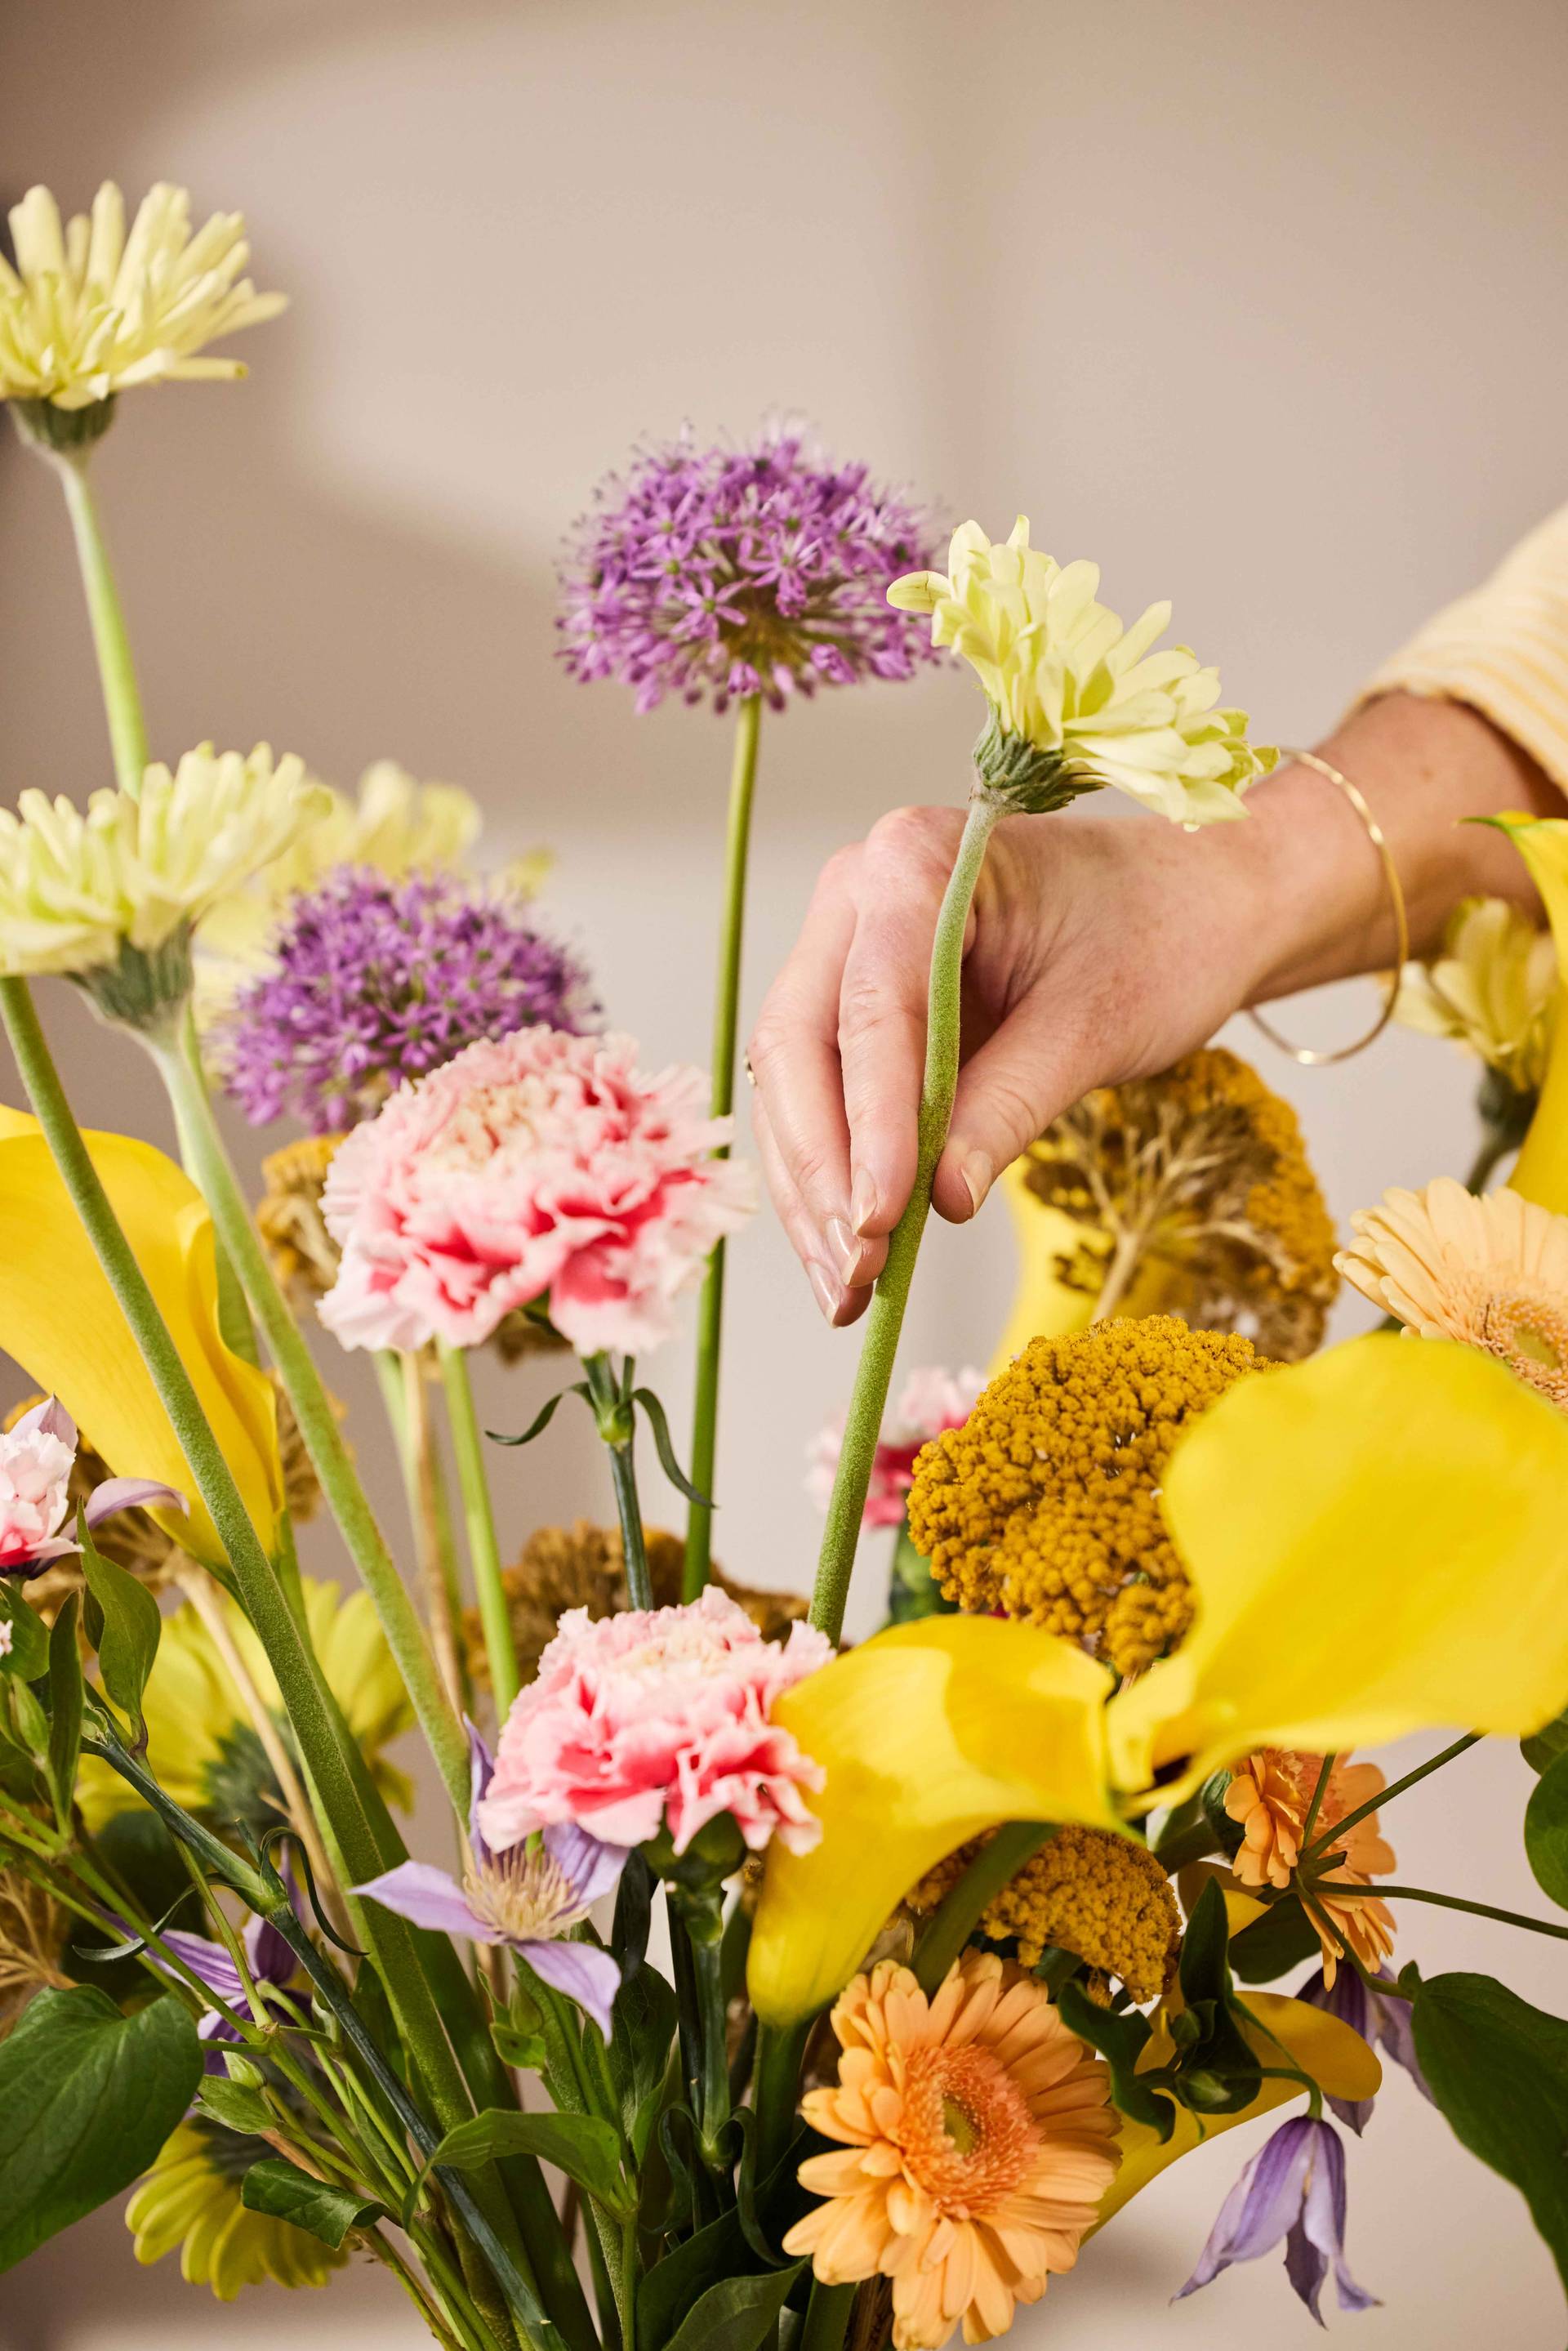
Have you always wanted to take your flower arranging skills to the next level? This is your moment! With the expert tips of floral designer Nari Yi, you’ll create an artistic arrangement in just a few simple steps. Let yourself be inspired, choose your favourite seasonal blooms and give your creativity free rein.
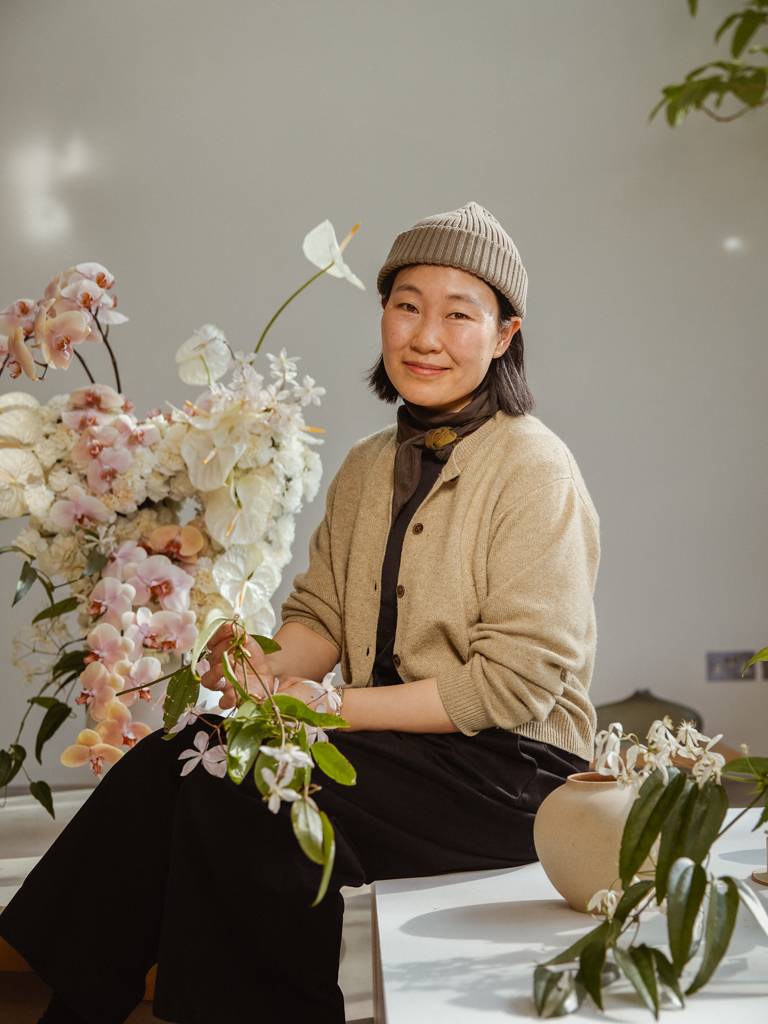
Floral designer Nari Yi (Studio YINARI)
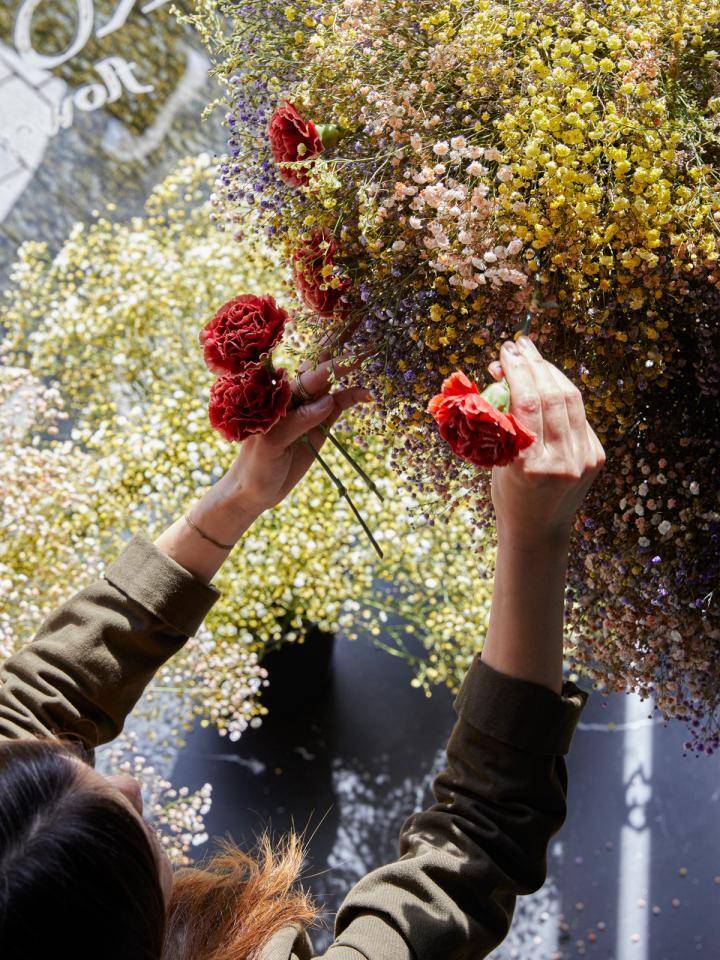
Nari Yi is a celebrated floral designer. From her London-based Studio YINARI, she brings floral styling to life for events, weddings and workshops. Leading wedding media have named her among the very best florists in the UK. And with good reason: she’s collaborated with iconic brands such as &Other Stories, Rejina Pyo, Liaigre and Fortnum & Mason. By playing with colour, texture, symmetry and height, Nari transforms every bouquet into a floral work of art.
By playing with colour, texture, symmetry and height, Nari transforms every bouquet into a floral work of art.
Inspired by nature
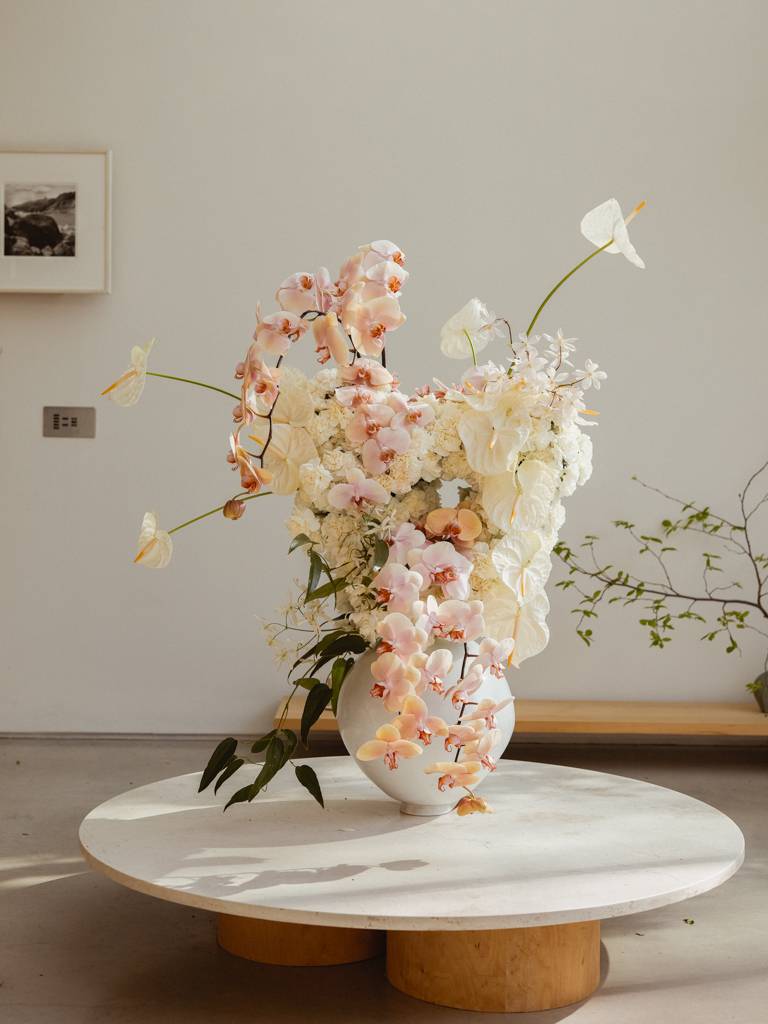
Nature, and the rhythm of the seasons, is Nari Yi’s greatest muse. Her signature pieces often feature seasonal flowers, sculpted into striking, poetic shapes. The best part? You can create such an artistic floral sculpture yourself, right at home. Simply follow her step-by-step plan below. So: gather your materials, get inspired and start creating!
What you’ll need
- A large, sturdy vase (preferably in a neutral colour)
- Seasonal flowers of your choice (see the list below for inspiration)**
Tip: decide in advance which colour palette you want to work with and choose your flowers accordingly. - Chicken wire
- Metal cutters or tin snips (for trimming the wire)
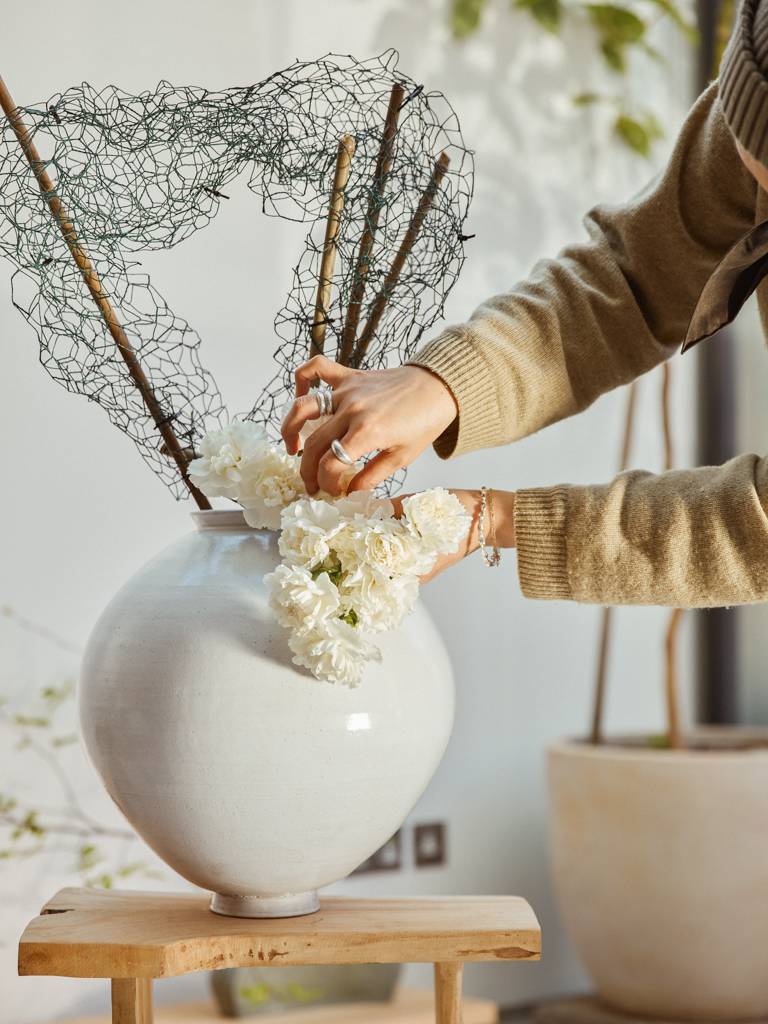
- 3 (bamboo) sticks (to secure the chicken wire)
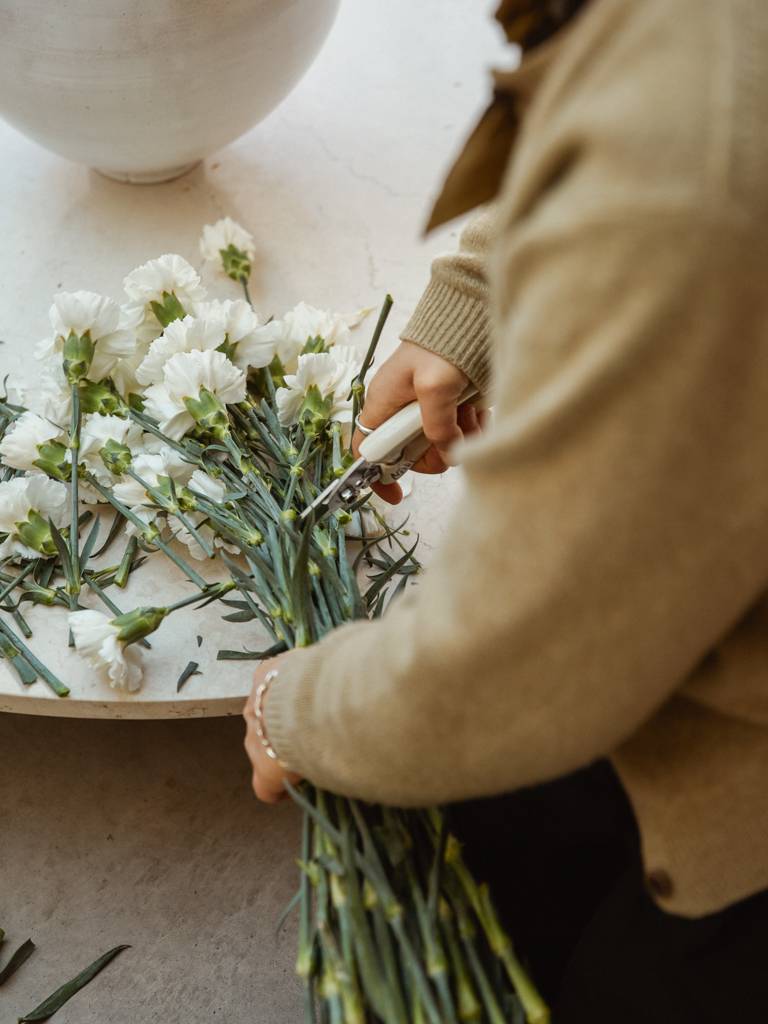
- Pruning shears (for cutting stems at an angle)
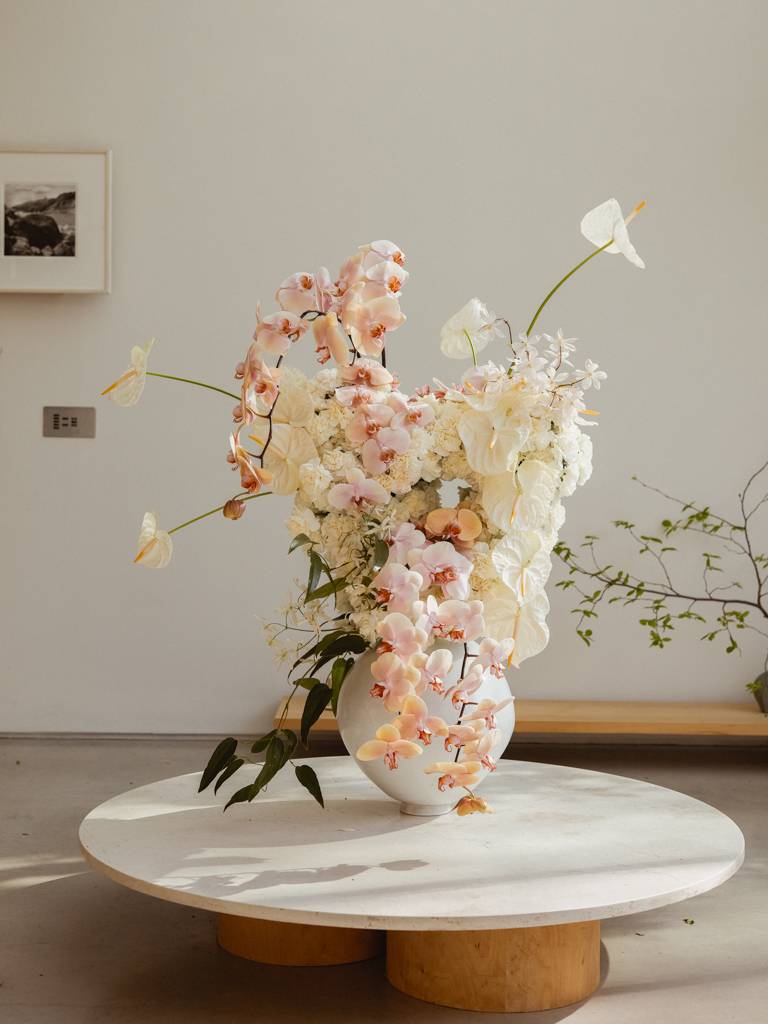
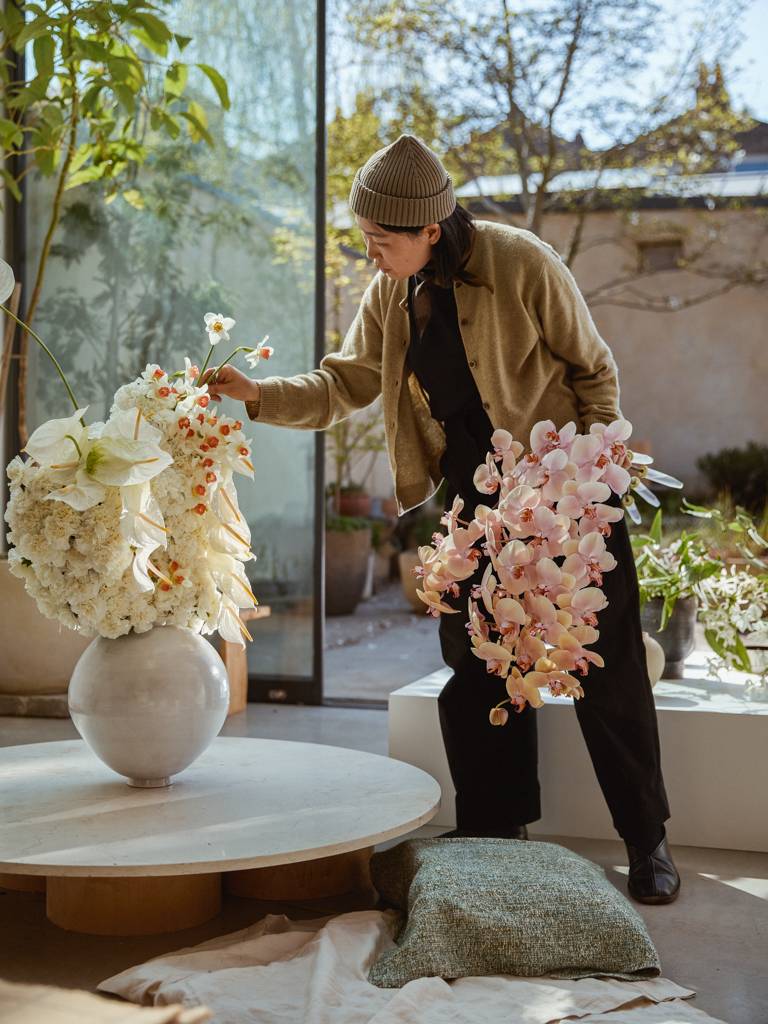
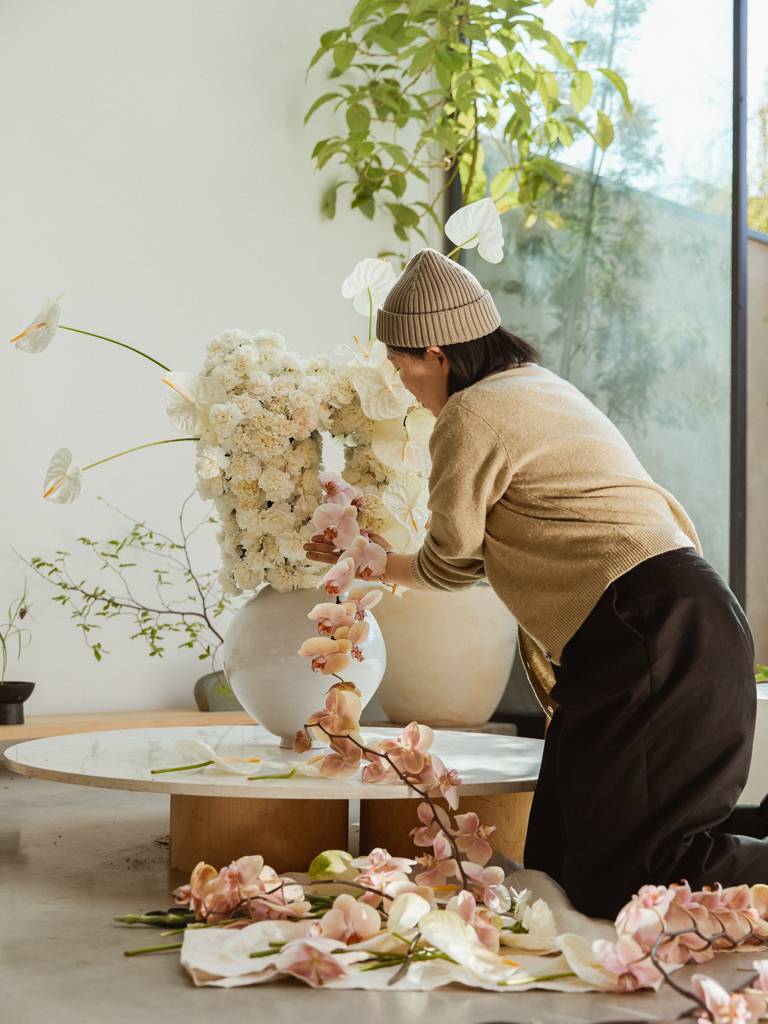
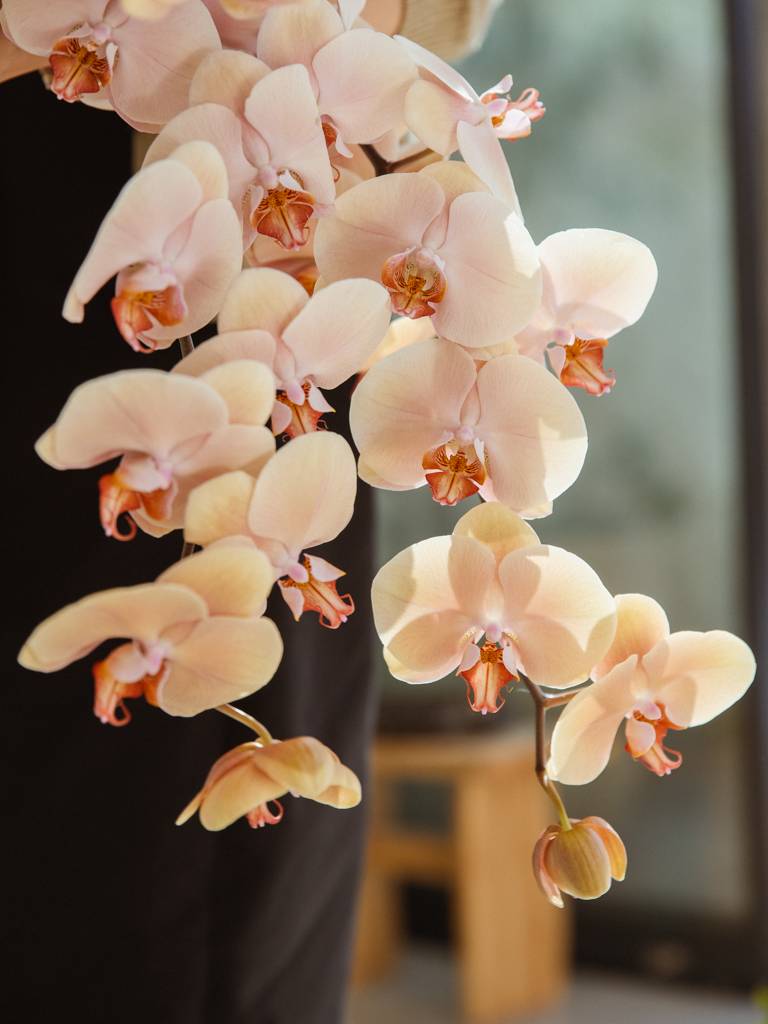
Flowers used in this piece: Orchid (Phalaenopsis), Anthurium, Carnation and Clematis.
Step-by-Step Guide
Got everything ready? Then it’s time to follow the plan and create your very own signature piece.
1
First, picture your design. What shape do you want? How tall should it be? What colour story do you want to tell?
2
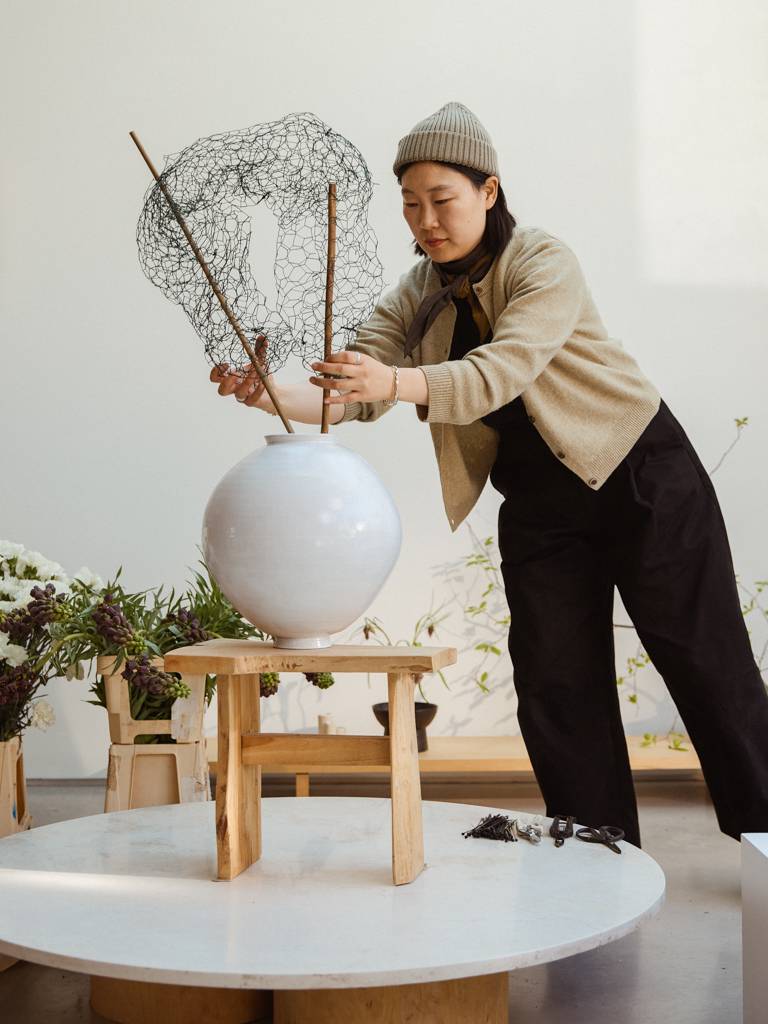
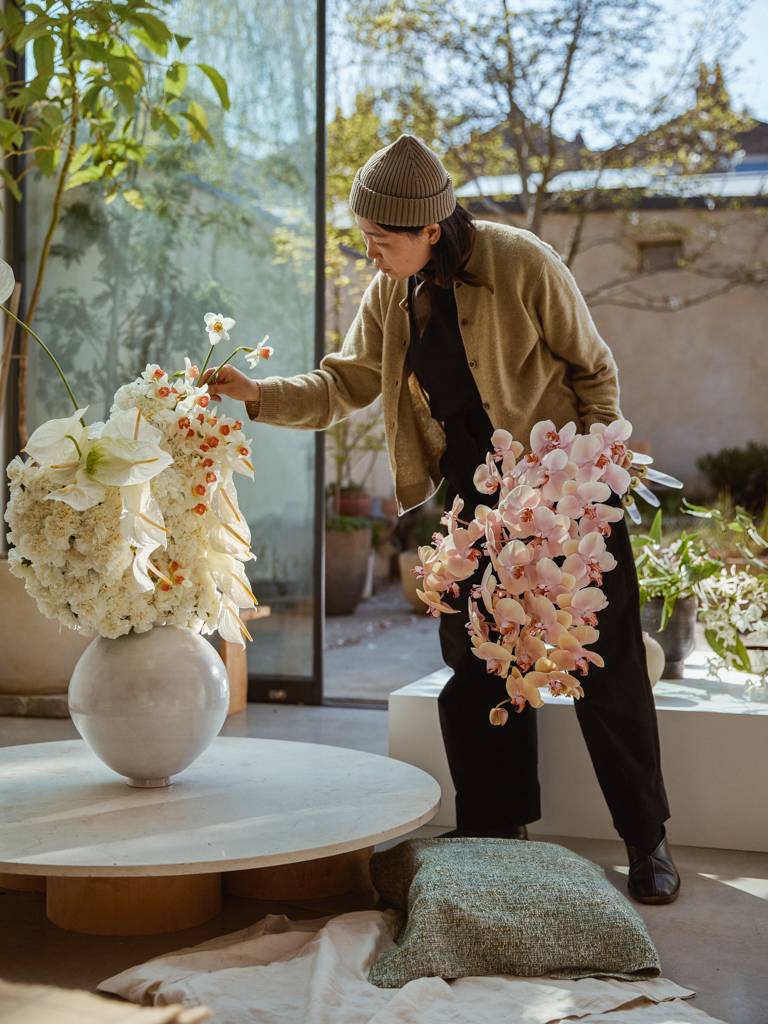
Fill your vase with a generous layer of water (and a splash of flower food if you like). Place the sticks inside and wrap the chicken wire around them into the shape you want. Play with different heights and a bit of asymmetry, it’ll make your piece feel more lively and dynamic.
Play with different heights and a bit of asymmetry, it’ll make your piece feel more lively and dynamic.
3
Cut your flower stems diagonally with pruning shears and insert them one by one into the wire. Start in the centre and work your way outwards.
Tip: aim for a smooth colour gradient and step back now and then to see the whole picture. Check that all stems reach the water, so your flowers stay fresh for longer.
4
To add depth and a more natural, airy look, tuck a few twigs, like Clematis, near the base of your arrangement.
5
Take a few steps back and view your creation from every side. Happy with what you see? Or could it use a little extra? Adjust, add or refine until it feels just right.
6
Give your floral artwork pride of place in your home.
Tip: avoid putting your signature piece near a window, heater, fruit bowl or in a draught, those spots will shorten its lifespan.
Tips to help your flowers last longer
After all that creativity, you’ll want to enjoy your floral artwork for as long as possible. These simple tips and golden rules will help you get the most out of your flowers. You could even choose varieties that dry beautifully, or go for dried flowers from the start for a long-lasting, sculptural look.
More DIYs from leading floral designers
Feeling inspired after creating your own beautiful signature piece? Explore more Floral Signatures from fellow floral artists. Discover Pauline Monnier’s floral magic for the perfect table arrangement, craft a dreamy flower cloud inspired by Yoko Negi, or design a poetic still life with expert tips from A.P Bloem.