
Written by
Sabina
Directly to
In addition to their day jobs as interior horticulture gardeners and stylists, Rose and Caro of plant design studio Ro Co are also accomplished authors. In their book Root Nurture Grow, Rose and Caro share their knowledge of plants, cuttings and propagation, plus some nifty DIYs to try at home. It’s perfect inspiration material to help you on your journey to mastering the art of plant design. Here’s one of their DIYs to get you started.

DIY: Cutting Funnel
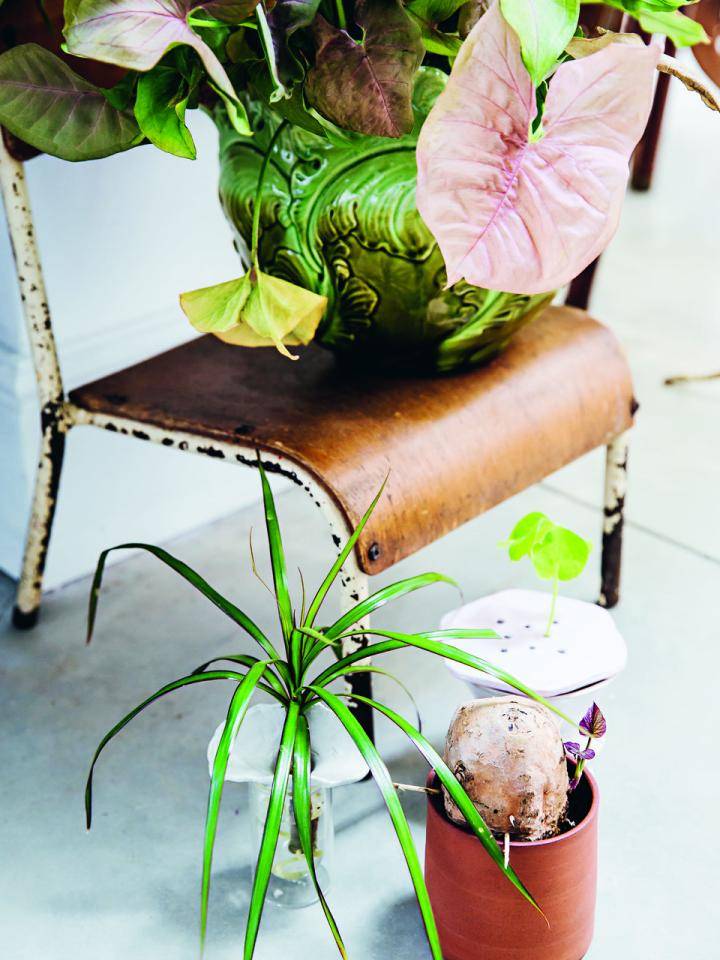
Since there are so few products on the market to help you when it comes to cuttings and propagation, Rose and Caro made their own clay funnels to help them grow new plants. Just place the funnel in the vase or container that you use for your cutting, and it will stop them from drowning.
You will need
You will need:
- Air drying modelling clay (available to buy at art shops)
- Rolling pin
- Cutting tools, such as pastry cutters
- Greaseproof paper or baking parchment
- Cornflower
- Small bowl of water
- Acrylic paint
- Brushes
- Yacht varnish
Method:
1
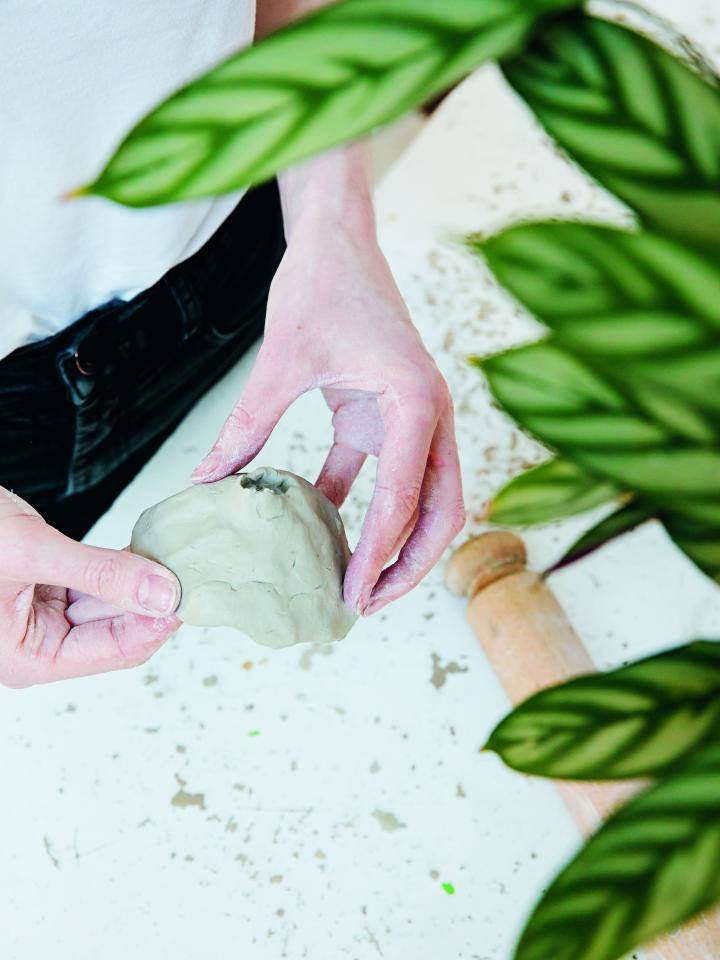
Give the clay a good knead to make it soft and easy to work with. Once it feels smooth, use your palms to make a round ball. If you have any clay left over, place it in an airtight container or resealable bag to prevent it from drying out.
2
Line a clean, hard surface with greaseproof paper and sprinkle the area with cornstarch. This will help prevent the clay from sticking to the work surface.
Roll out the clay ball with the rolling pin to a thick disk and use the pastry cutters to cut out the shape of your funnel. Be careful not to roll the clay out too thin or it risks cracking during drying – aim for a minimum thickness of 5mm. If you want, you can make patterns in the funnel by cutting in or pressing a stick or glass into the clay.
If you want to attach different pieces of clay to each other, you can make your own clay slip that acts as a sort of "glue" by mixing a little water with a cube of clay. Make notches with a knife on the two clay surfaces that you want to stick together. Apply some slip to the notches and gently press the pieces together, making sure there are no airbubbles between the pieces. With a wet finger you can smooth any cracks, bumps and lumps that appear in the join or on the surface.
You can also make the whole funnel by hand with just your fingers, by pinching the clay to shape it. This gives it a more nubbly, handmade finish.
3
Let the funnel dry for 8 hours and then smooth over any cracks that have appeared with a wet finger. If you need to make any last-minute changes to the shape, you can still soften the clay again with water for remodelling. Then let the funnel dry completely for 24 hours, or for as long as is indicated on the packaging.
4
Once the clay has dried, you can start to decorate the funnel. Pick up your paintbrush and acrylic paint, and get creative! Don’t worry if things get messy, just make sure you leave the clay to dry between coats of paint.
5
When the final coat of paint has completely dried, use a clean brush to apply the yacht varnish in an even coat across the whole of the funnel. Apply a second coat when the first coat is dry. This provides a protective, waterproof finish so the clay doesn’t get soggy when it comes into contact with water.
When the varnish is dry, balance the funnel on the top of your cutting vase or bottle and position the cutting inside. Your clay funnel will look after the plant for you while it grows new roots, ready for planting out.